Role Settings and Permission Assignment
In MsgBox, you can achieve unified permission management for team members by creating custom "Roles" and assigning specific functional permissions.
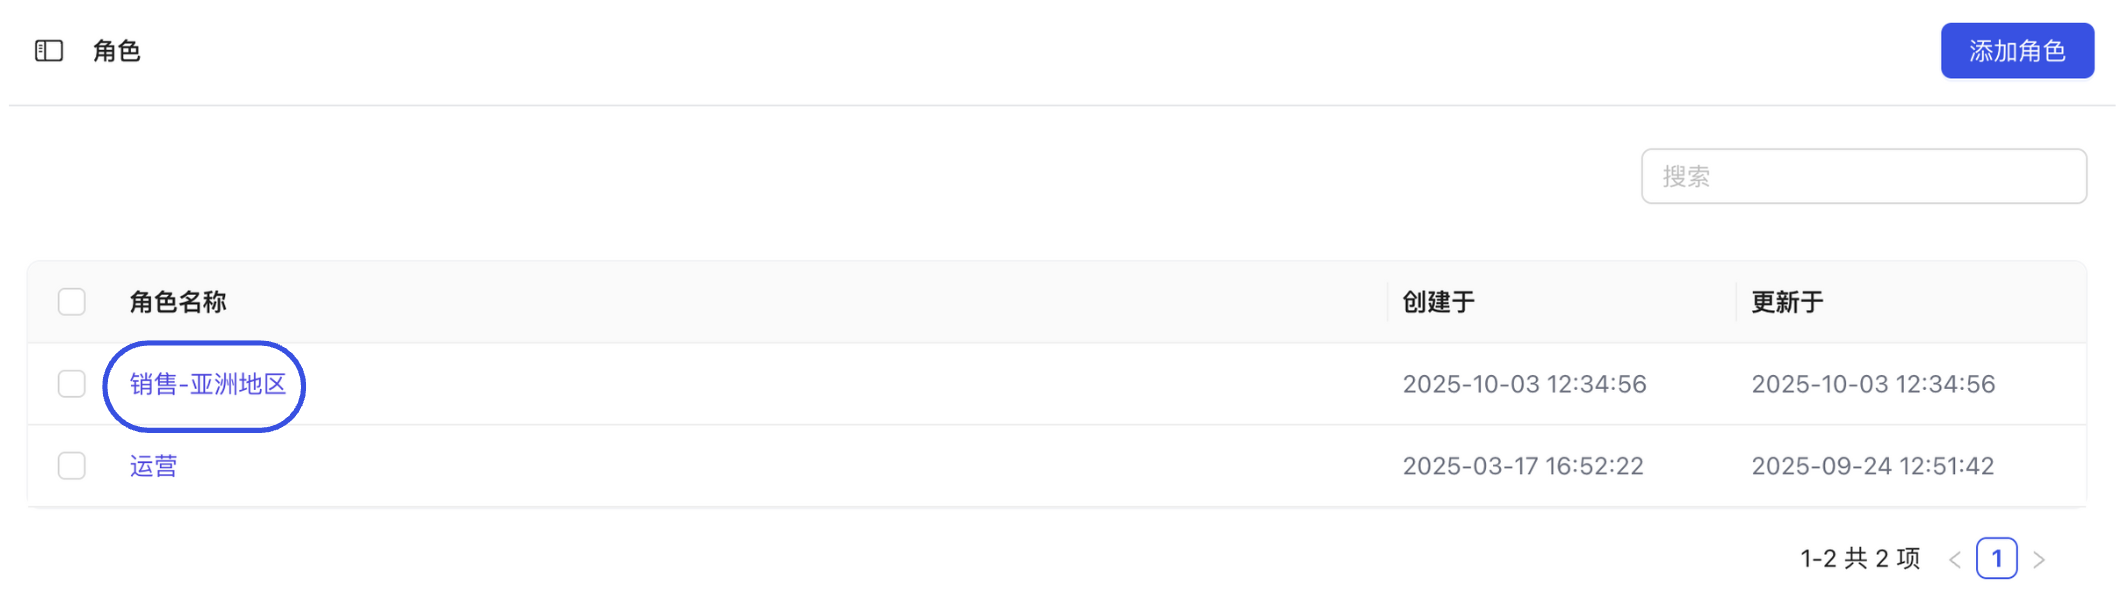
How to Create a Role?
-
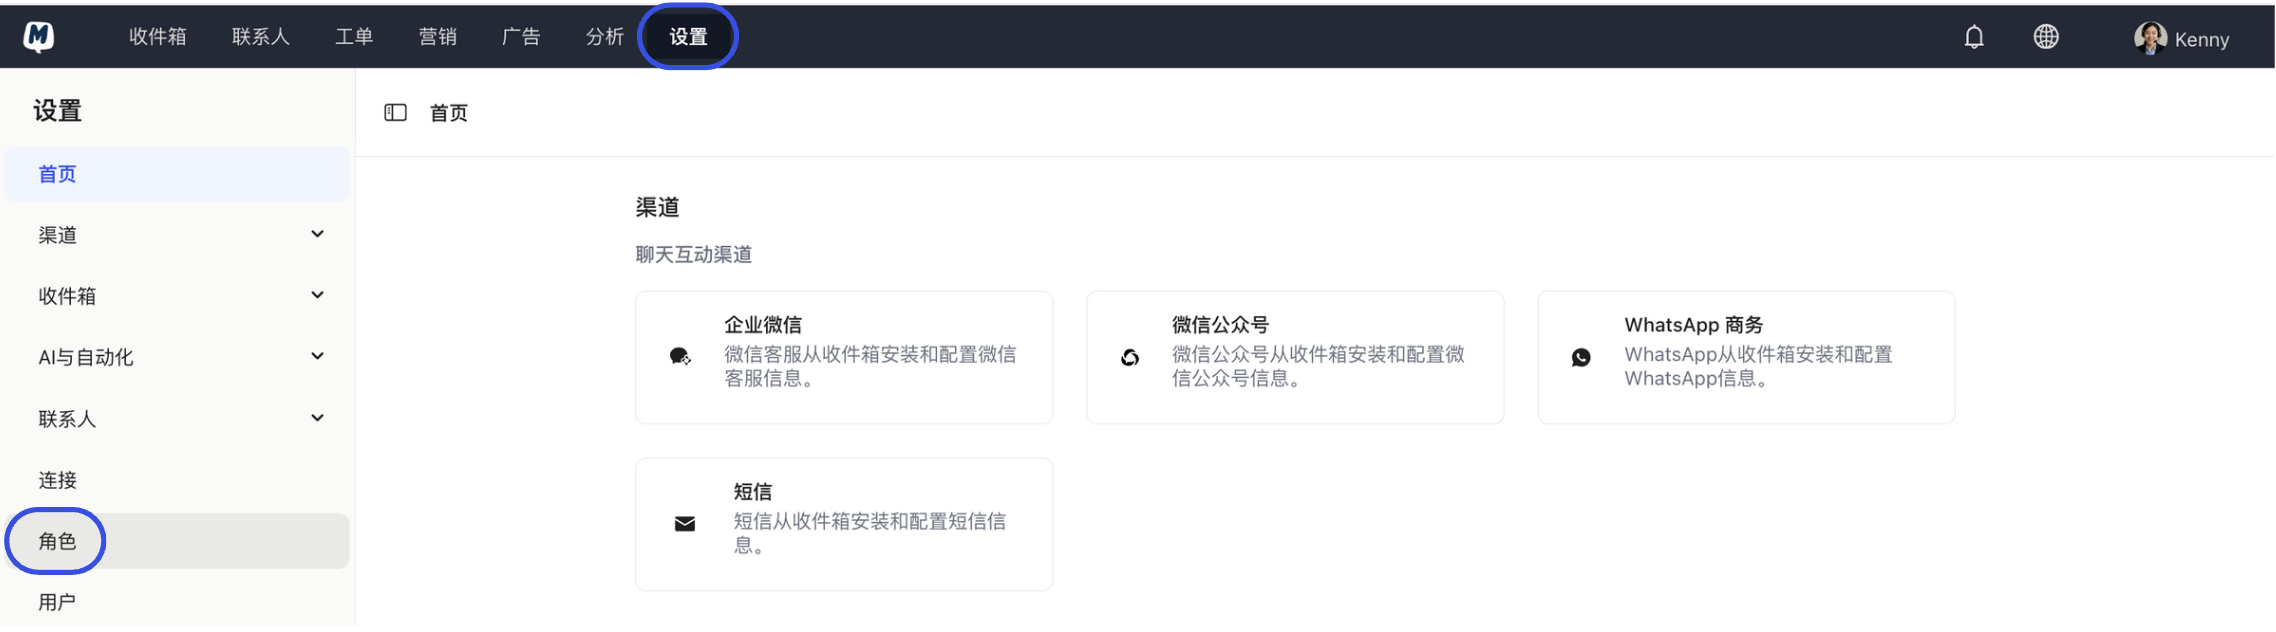
Enter Role Management Go to the Settings > Roles page.
-
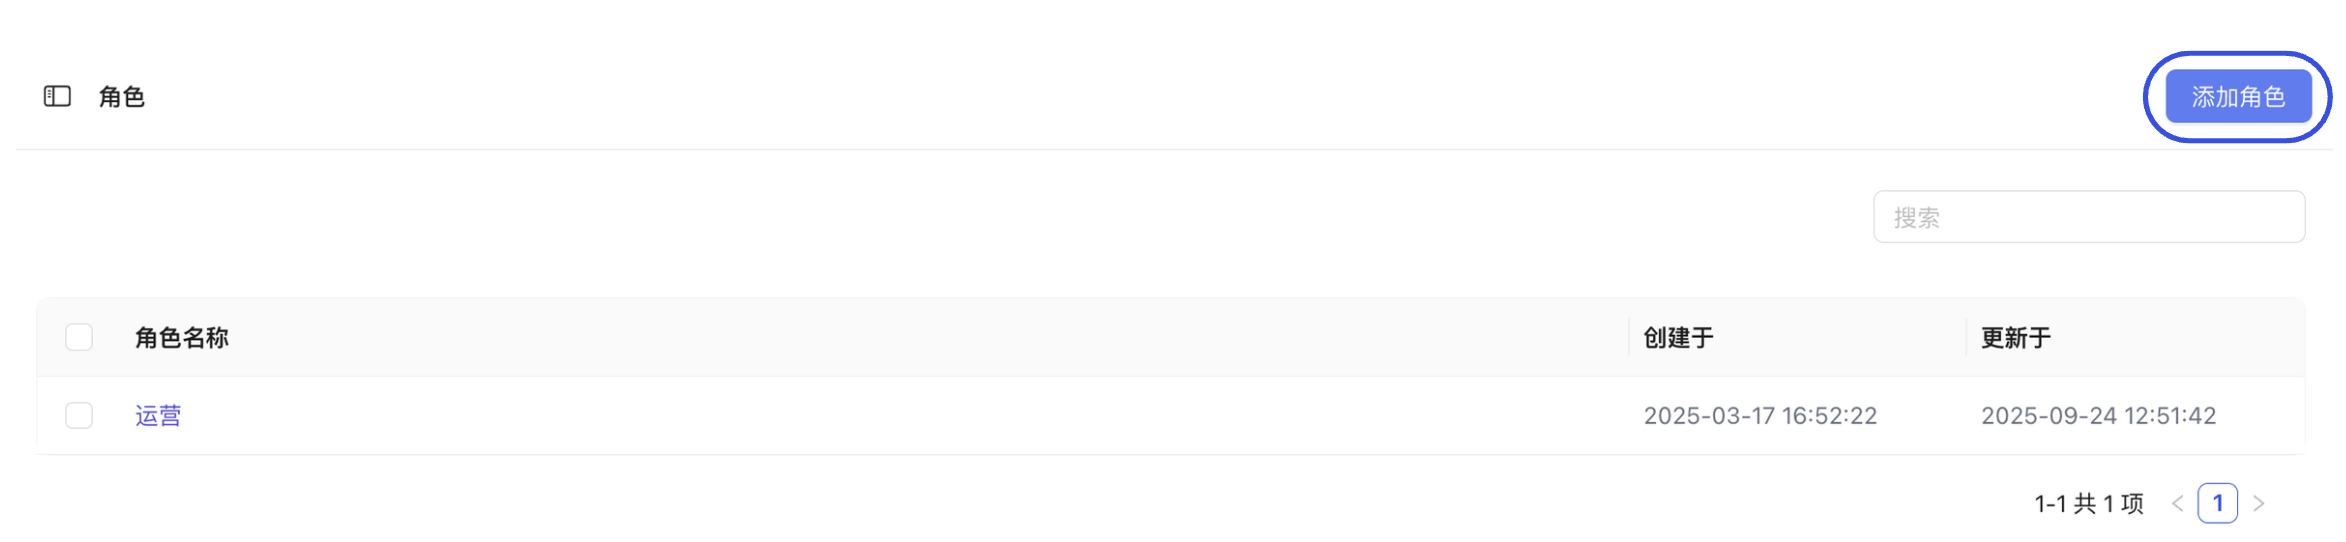
Add New Role Click the "Add Role" button.
-
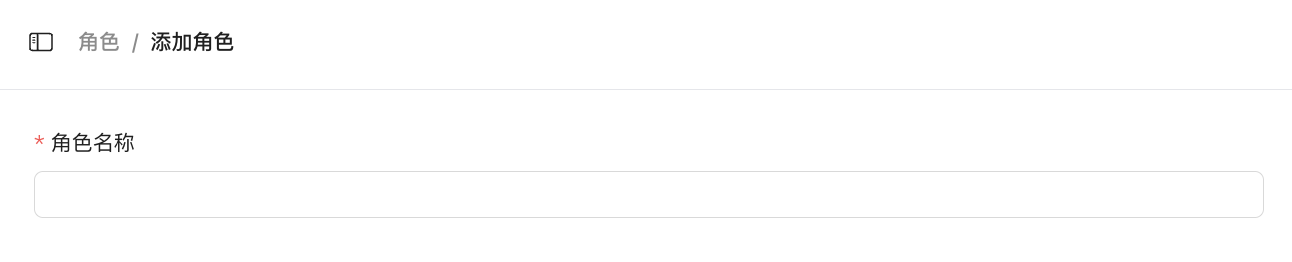
Set Basic Information Enter a role name (e.g., Customer Service Specialist, Technical Support, etc.).
-
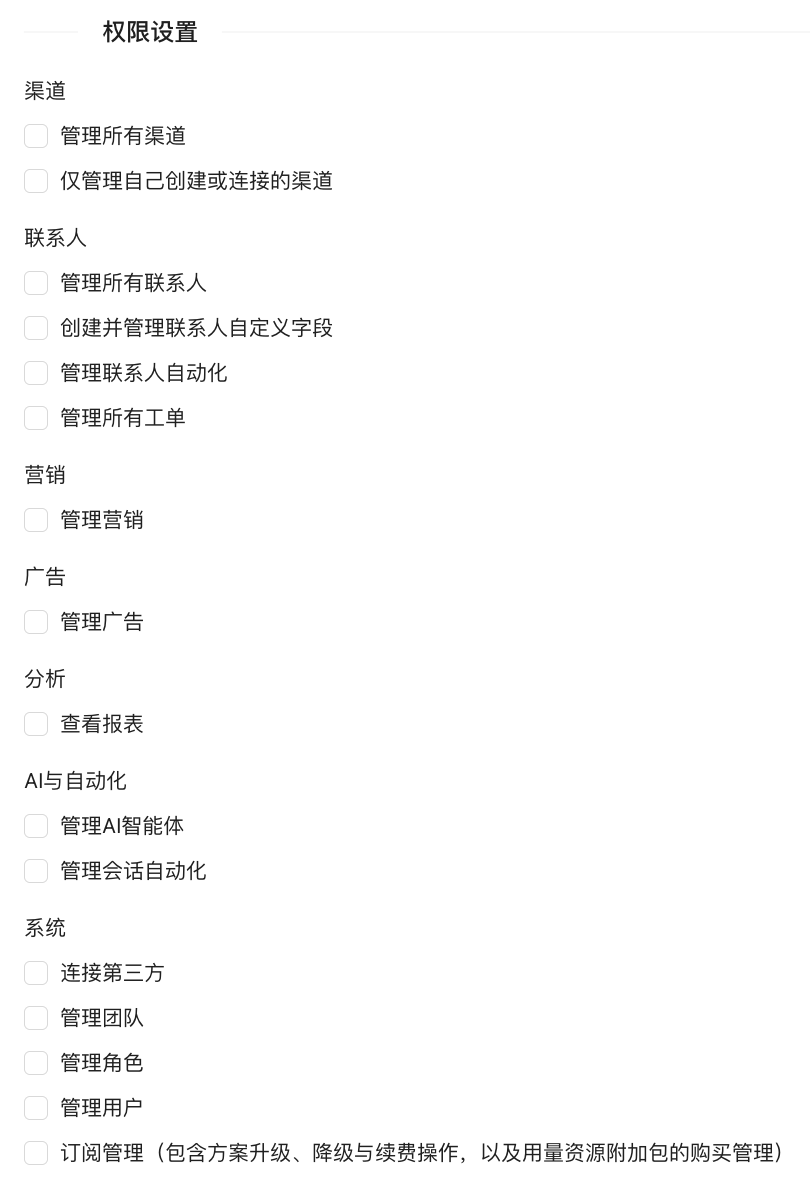
Configure Permissions In the "Permission Settings" section, check the corresponding operation permissions.
If no special settings are configured, the system will assign the following basic permissions to new roles:
- Inbox: Can only view and process conversations assigned to themselves.
- Contacts: Can only view and manage contacts they created.
- Tickets: Can only view and manage tickets they created.
- Canned Responses: Can view all content but can only edit/delete responses they created.
- Document Center: Can view all documents but can only delete documents they created.
- Save Role After completing the settings, click "Save".
How to Edit Role Permissions?
- Go to the Settings > Roles page.
- Click on the Role Name you want to modify in the list.
- Re-check or uncheck permissions in the "Permission Settings" section.
- Click "Save"; changes will take effect immediately for all users belonging to that role.
How to Assign Roles to Users?
Administrators can specify a role when Inviting Users or change it at any time in user management.
Change the role of an existing user:
-
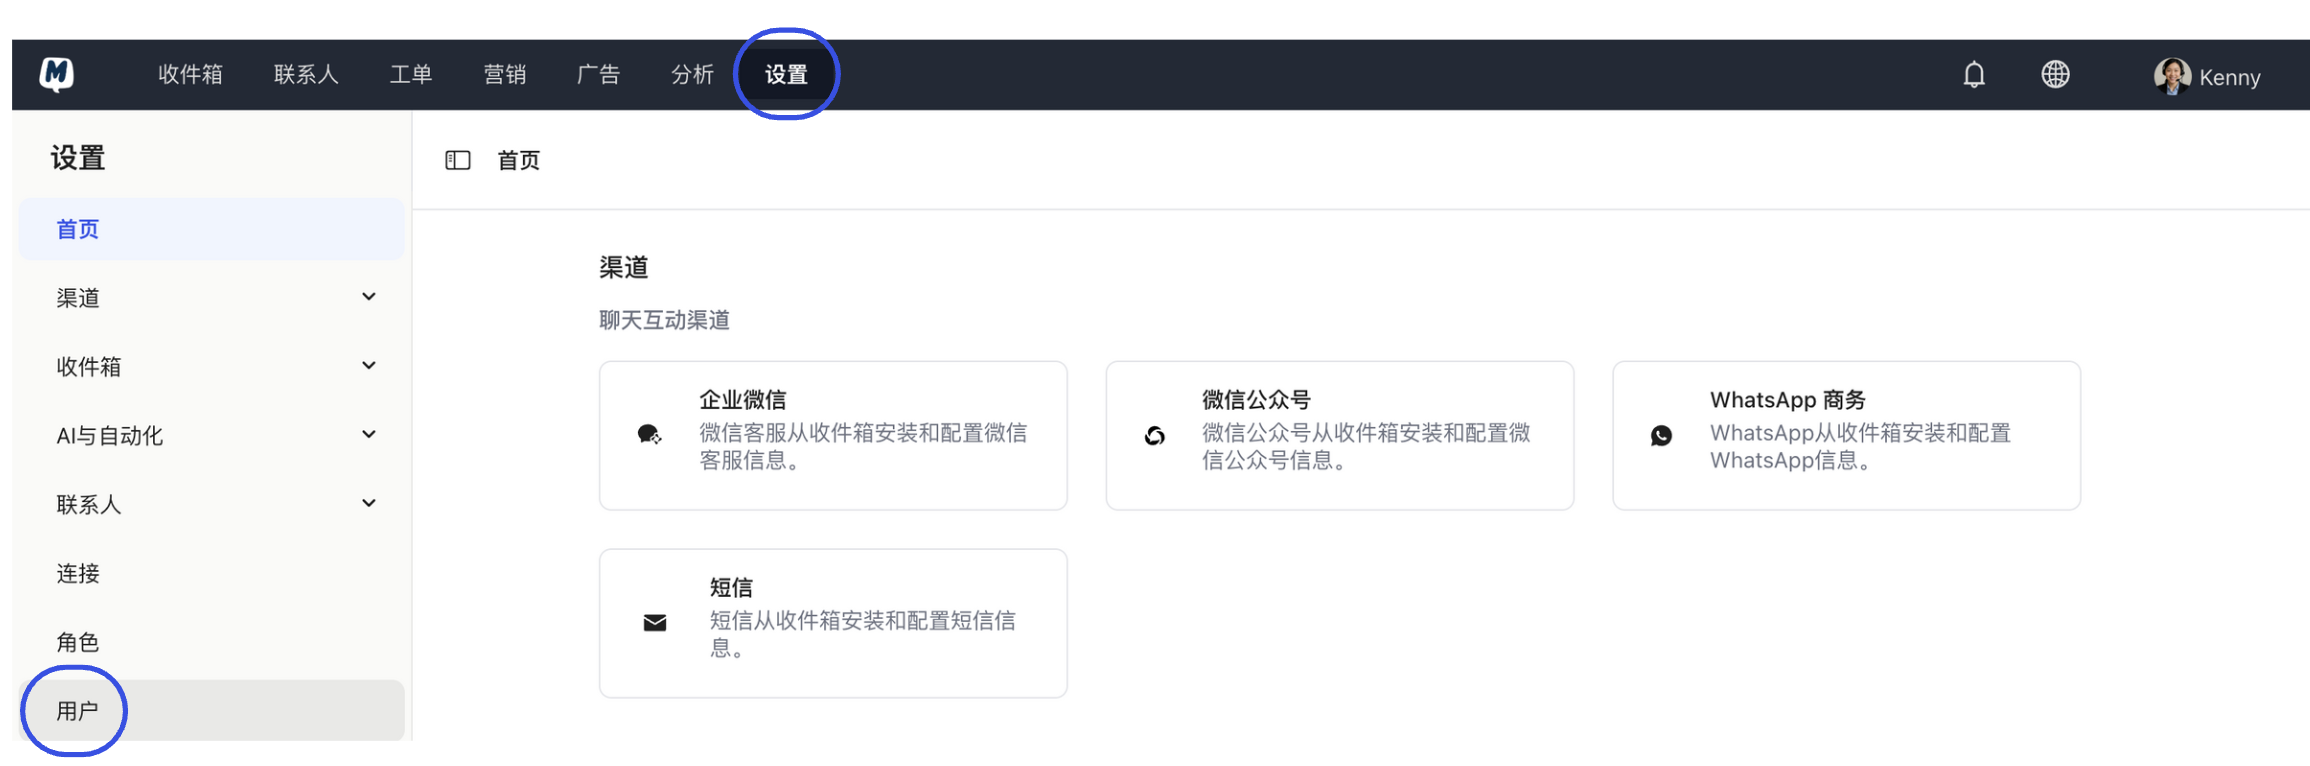
Enter User List Go to the Settings > Users page.
-
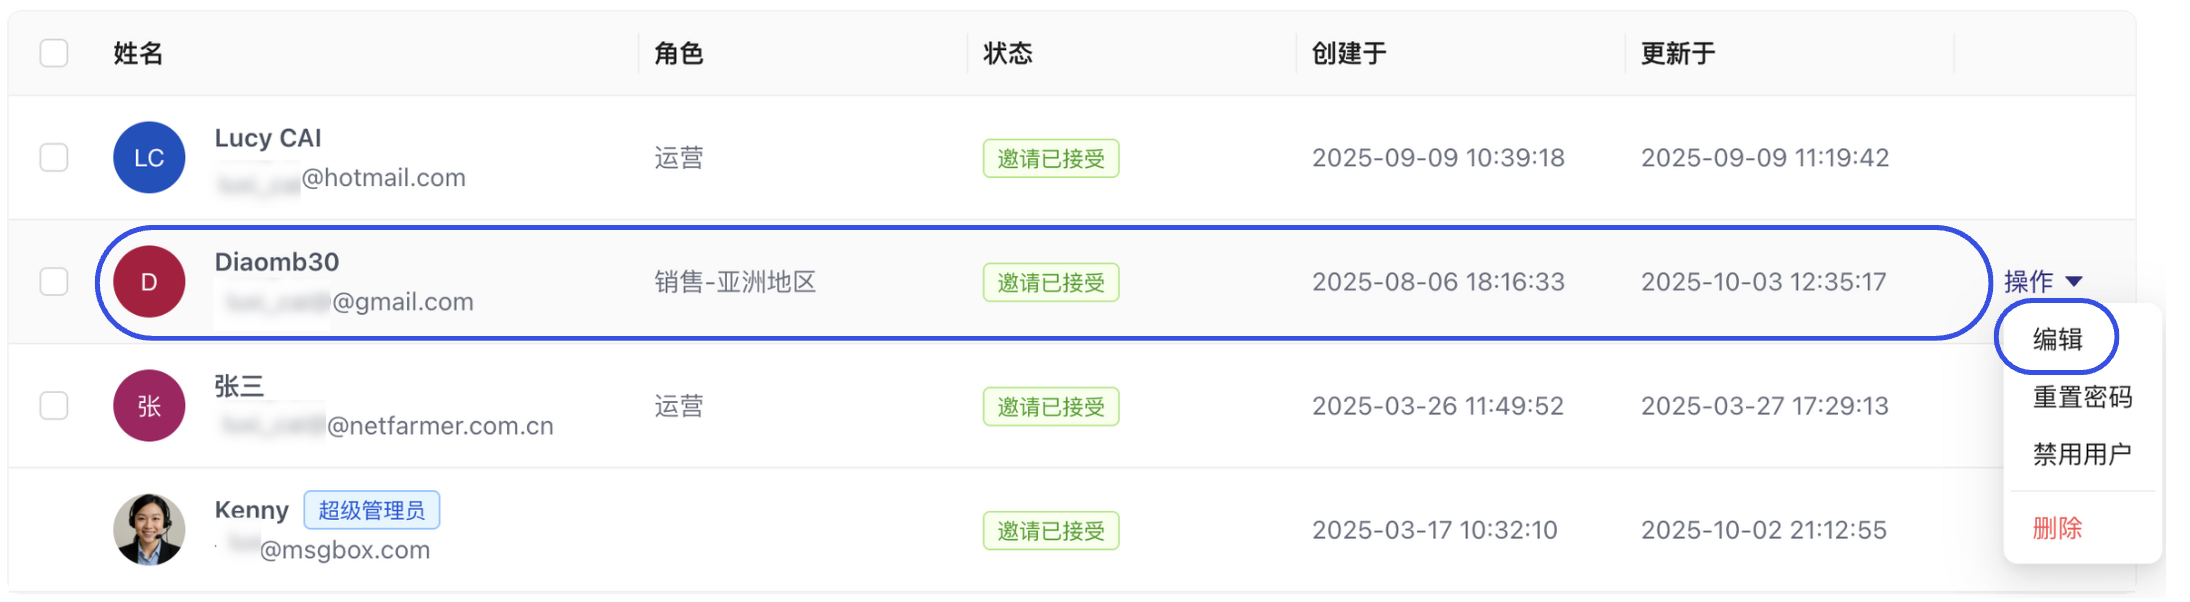
Locate User Find the target user in the directory, click the "Action" button on the right, and select "Edit".
-
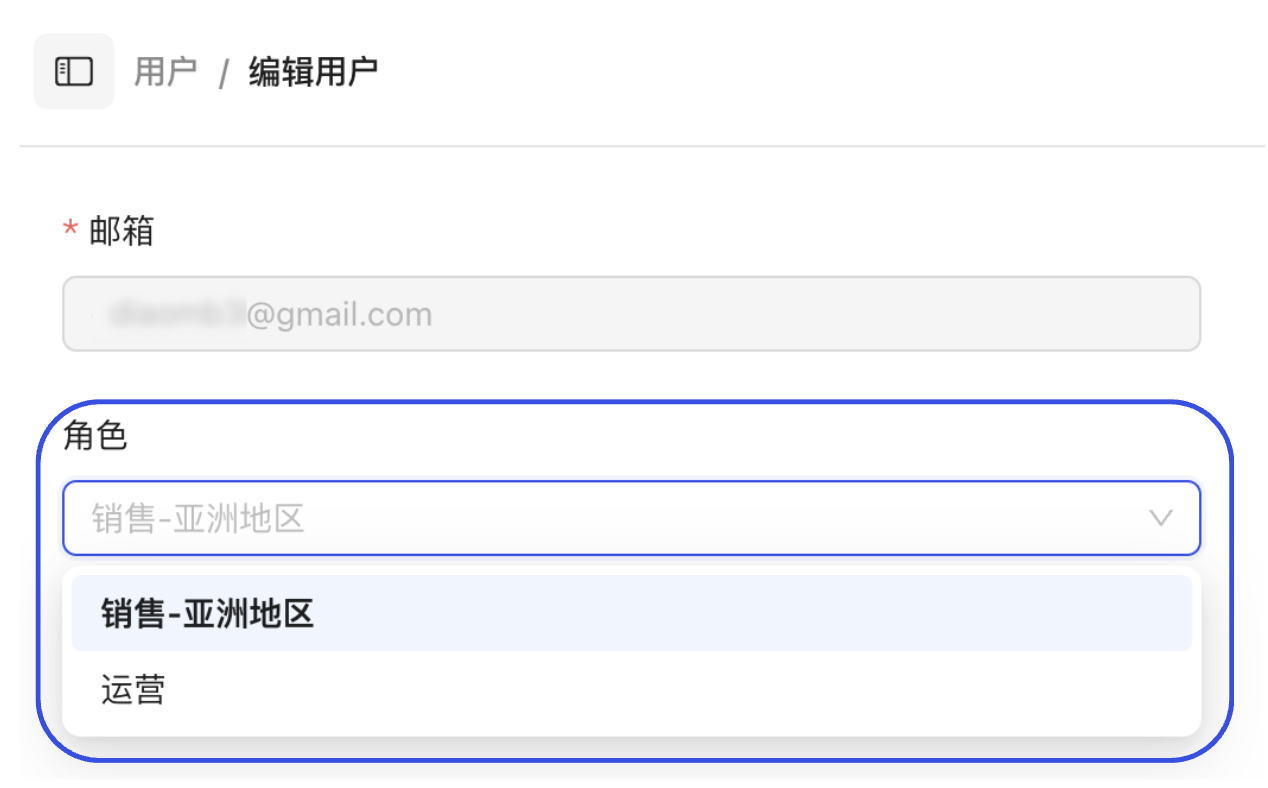
Modify and Save Select the new role from the "Role" dropdown menu.
-
Click "Save" to complete the permission change.