How to Create and Edit Forms?
Custom forms allow you to efficiently collect lead information. This document will guide you through the entire process from creation and configuration to field mapping.
Phase 1: Creation and Basic Configuration
-
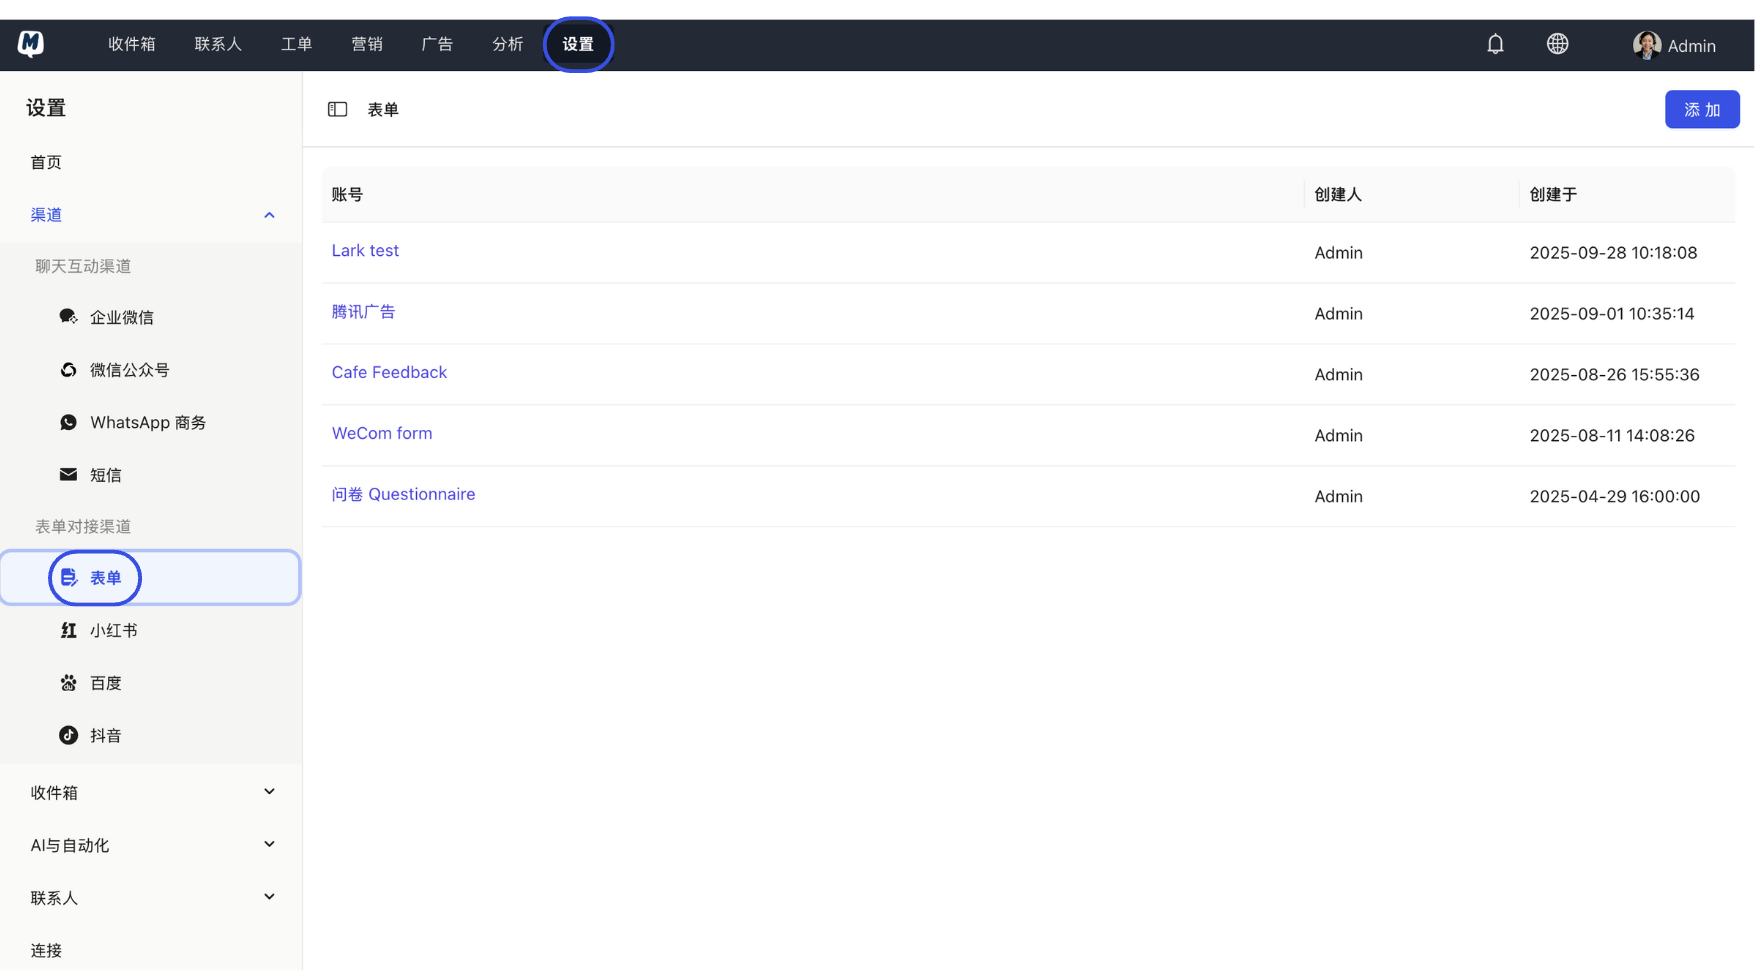
Enter Form Management Go to Settings > Channels > Forms.
-
Create New Form Click the "Add" button, set a form name, and click "Next".
-
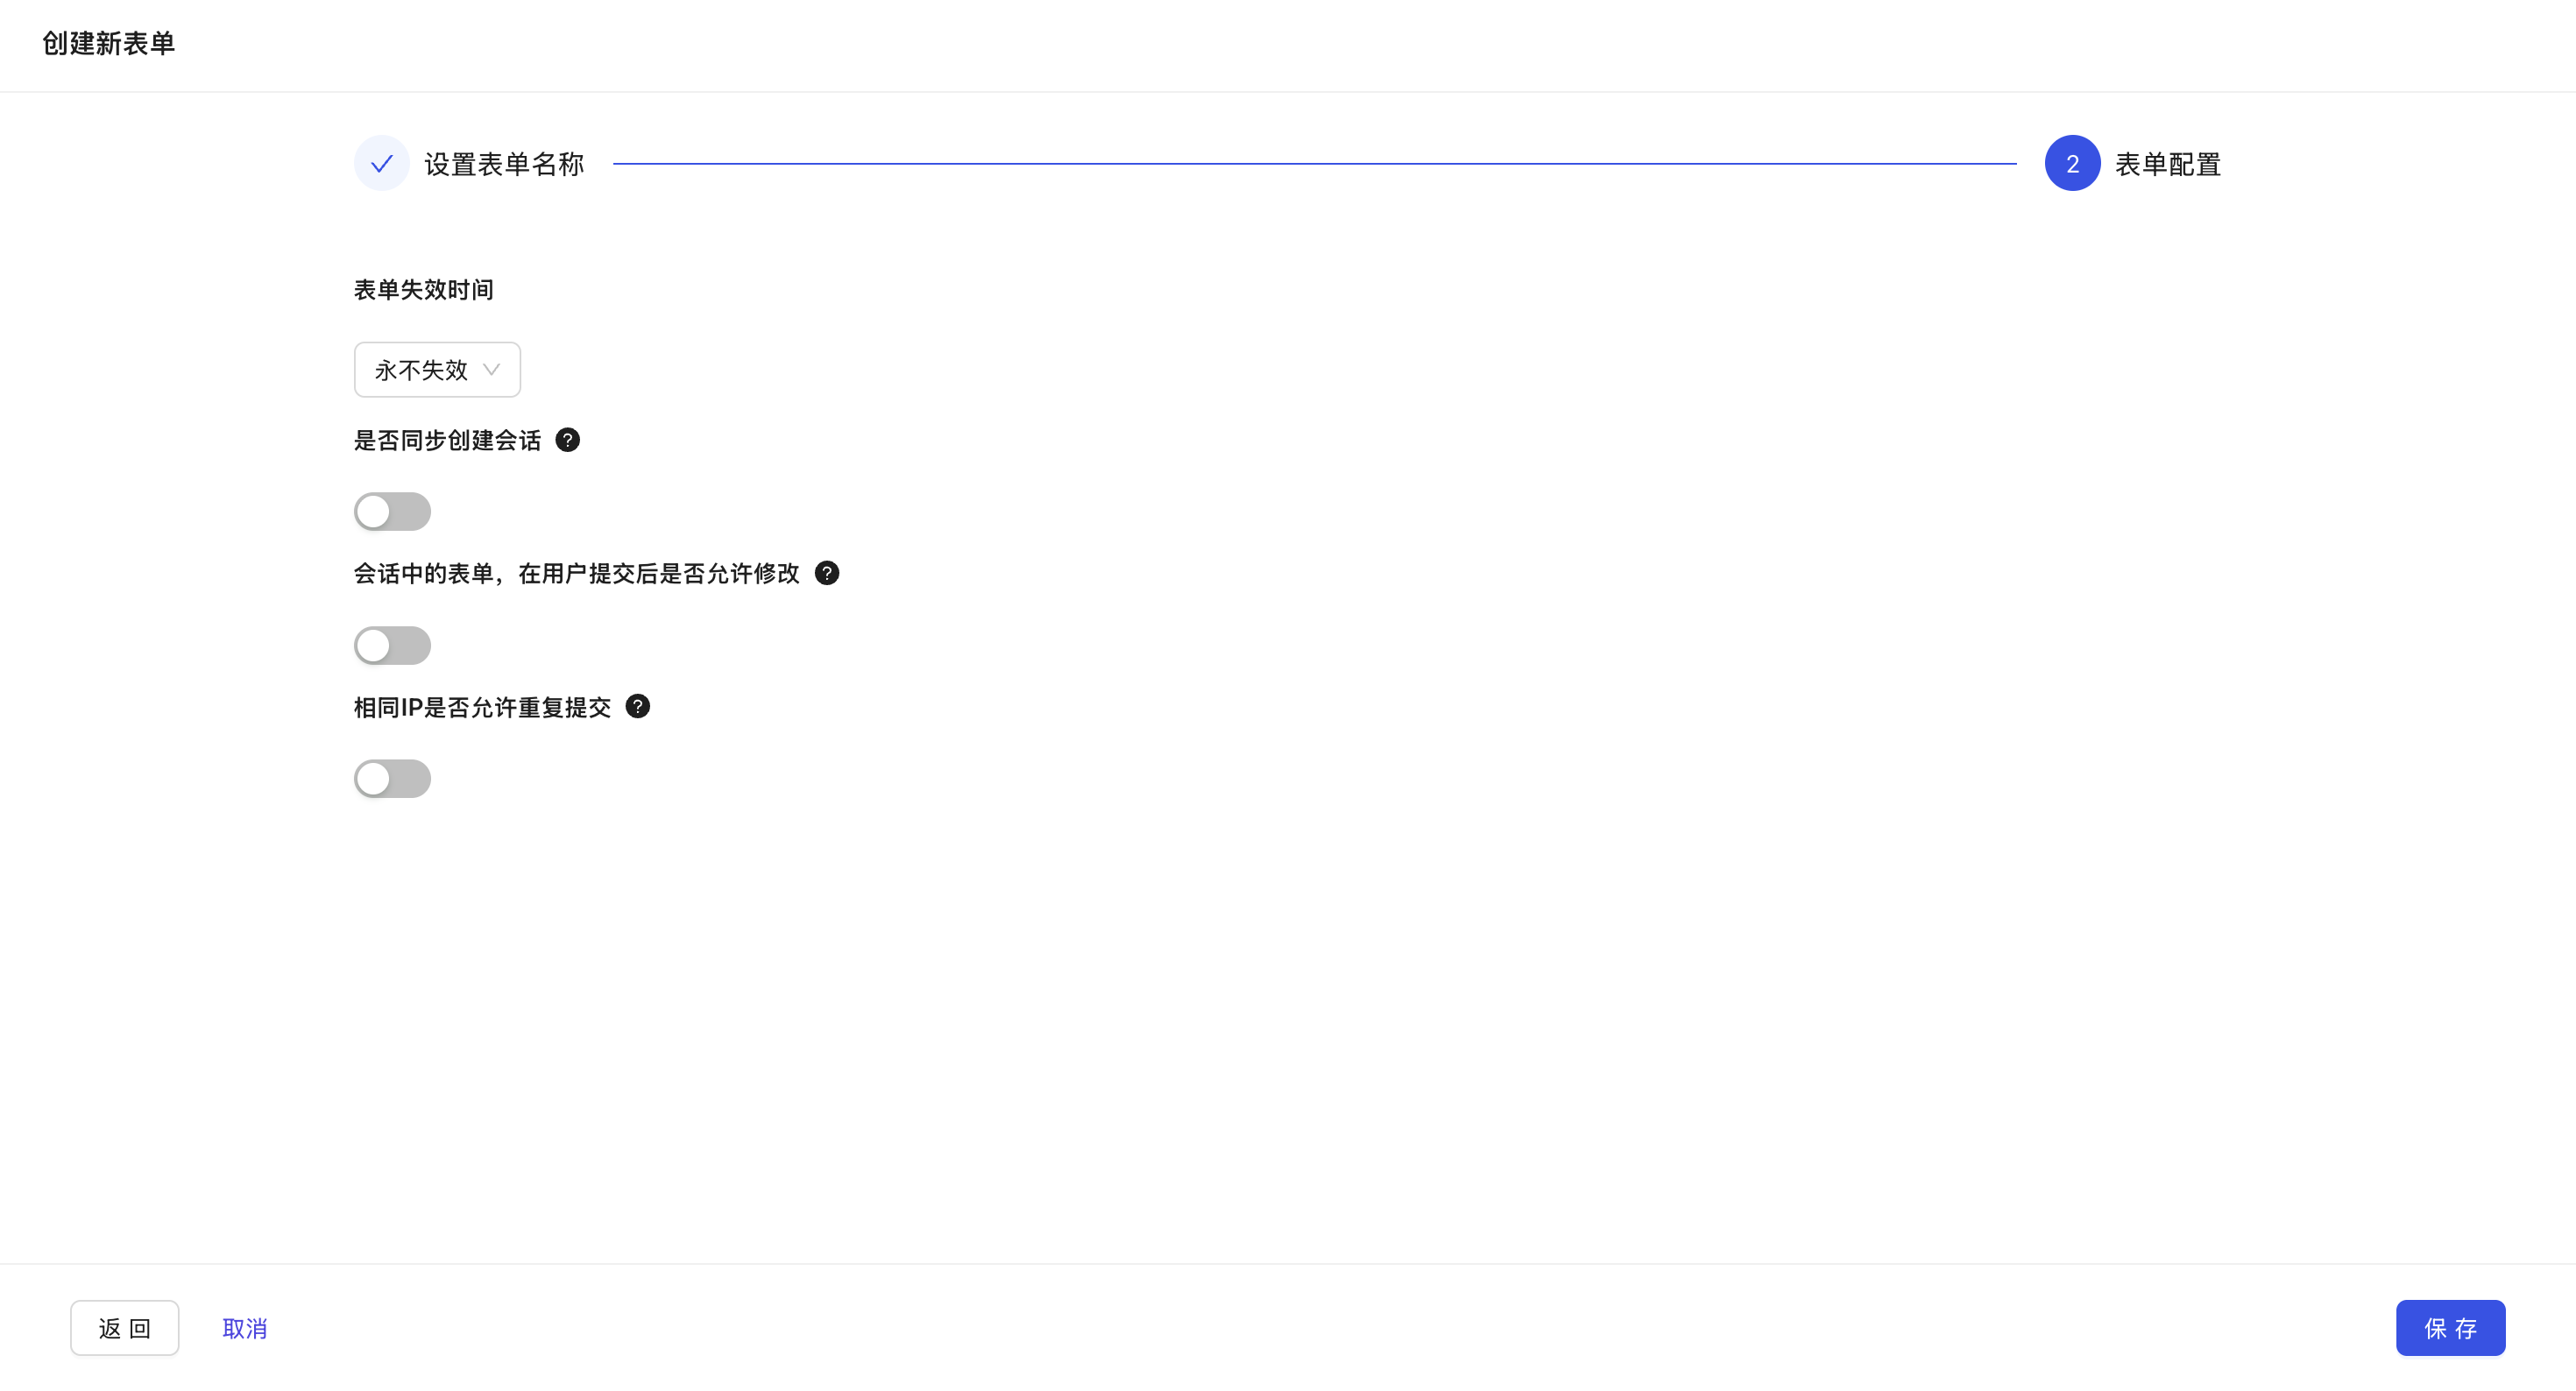
Core Feature Configuration On the configuration page, you can set the following options based on your business needs:
- Expiration Time: Can be set to "Never expire" or "Expire at a specified time." Contacts will not be able to submit after expiration.
- Sync and Create Conversation: When enabled, the system will automatically create a new conversation in the Inbox whenever new data is submitted.
- Allow Modification of Submitted Content: When enabled, users can still modify the form after submitting it in the conversation window, and data will update in real-time.
- Allow Duplicate Submissions from Same IP: Off by default. If published as a public link, it is recommended to keep this off to prevent spam; if used in specific offline scenarios, you may choose to enable it.
-
Save Basic Settings Click "Save" to complete the initial creation.
Phase 2: Form Style and Field Design
-
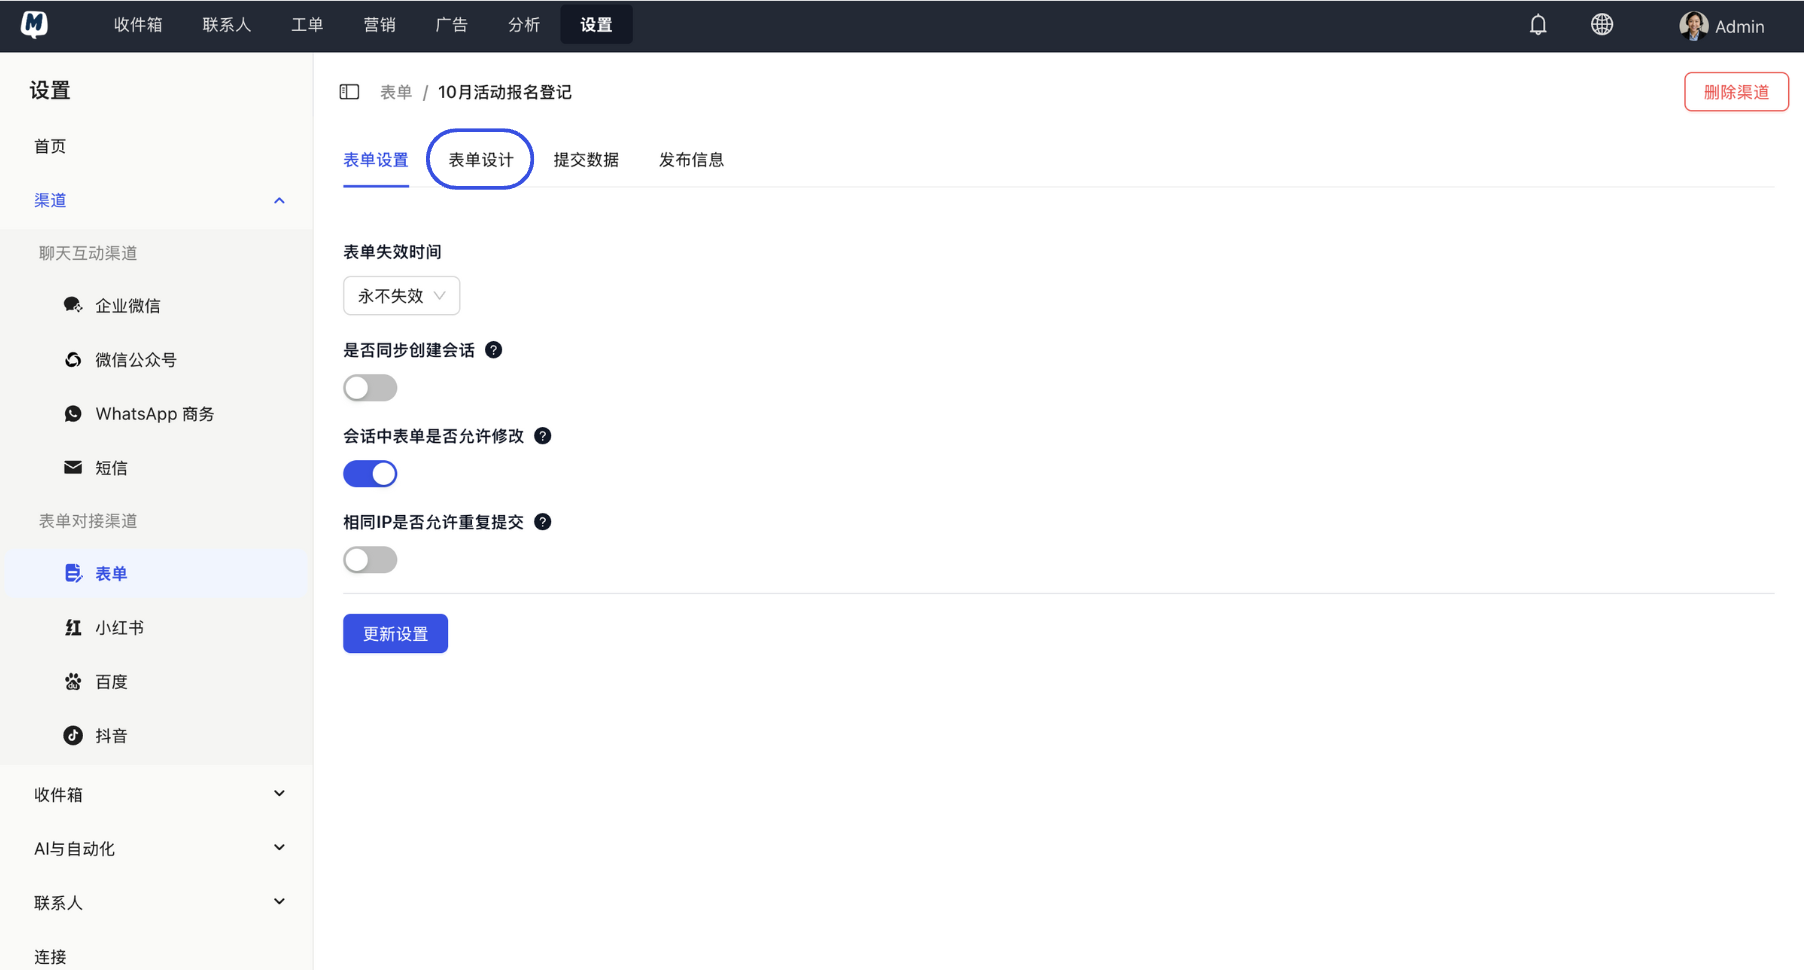
Enter Designer On the form details page, click the "Form Design" tab at the top.
-
Add Fields
- Enter the Form Description (the guidance text shown to users).
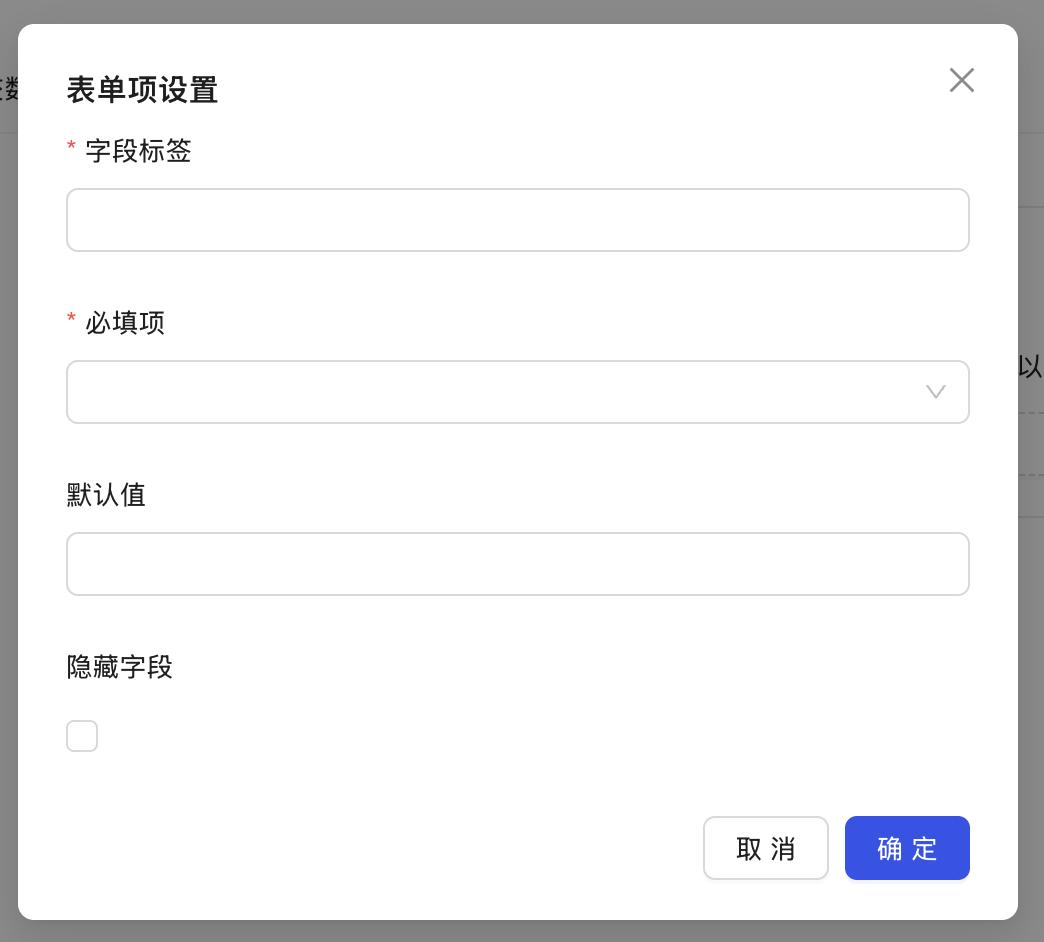
- Click "Add Field" and select the required field type (e.g., text, phone, email, etc.).
- In the Form Item Settings, fill in the field label (Label) and click "OK".
-
Repeat Process Add more fields as needed until the form content design is complete.
Phase 3: Sync Contact Settings (Optional)
If you want the data collected by the form to directly update in the Contact List, please perform the following:
-
Enable Synchronization Click "Sync Contact Settings" on the design page and toggle the "Sync form data to contacts" switch.
-
Configure Field Mapping Associate the form fields (left side) with the MsgBox system contact fields (right side).
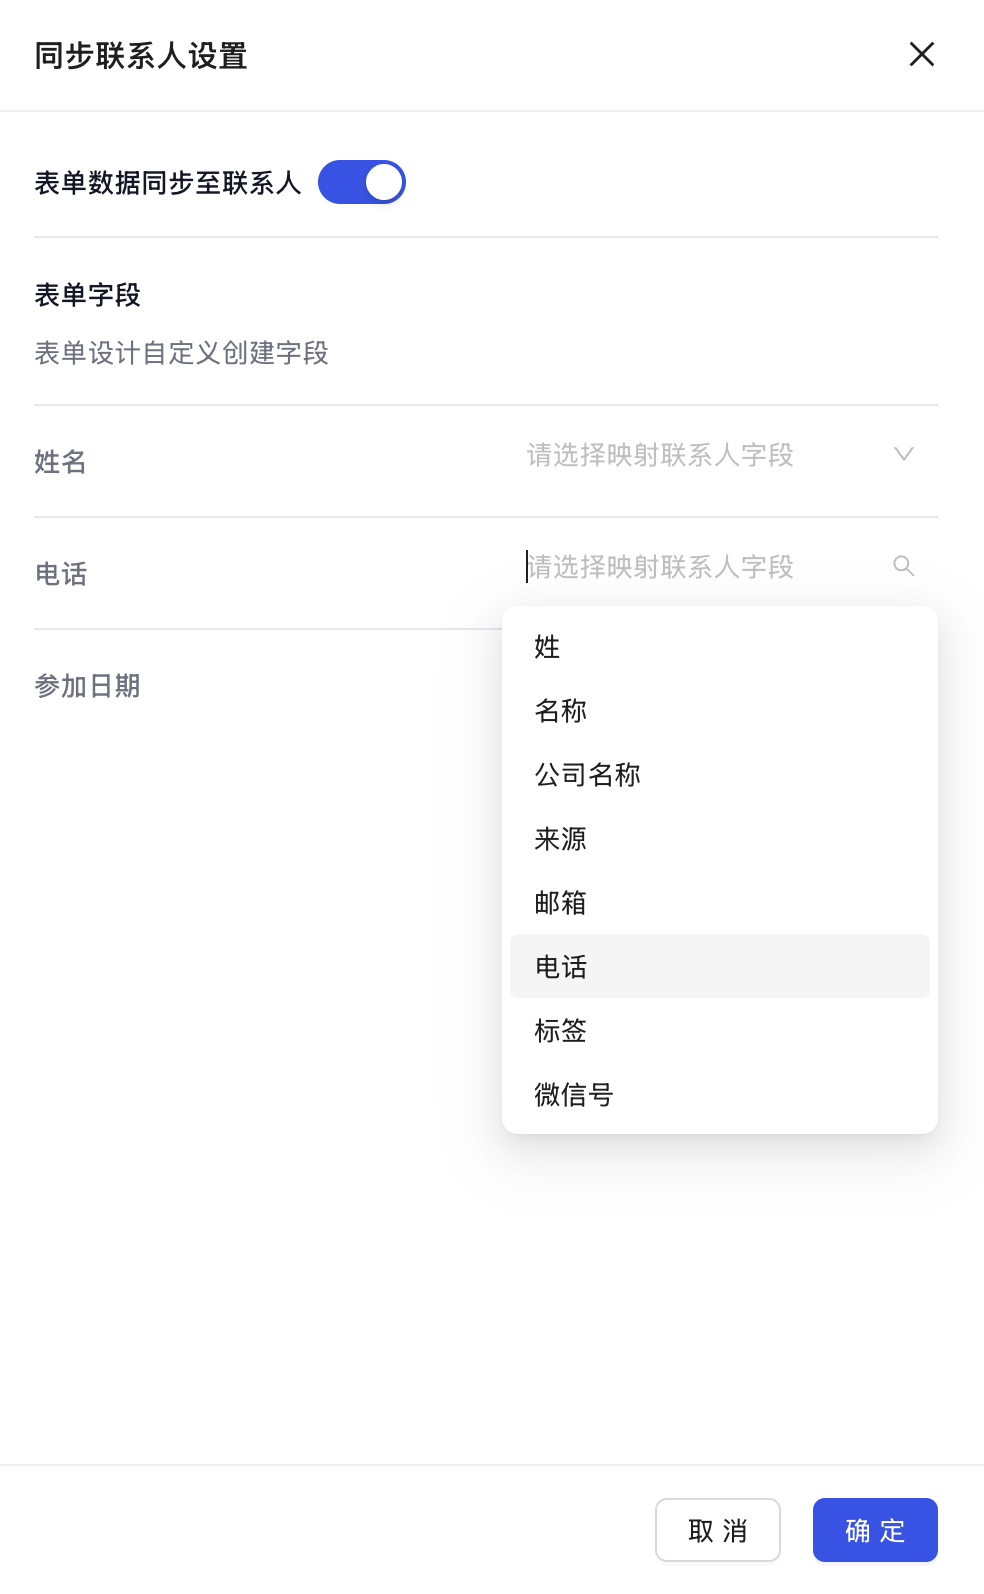
After configuring mapping, the system automatically identifies information such as the name and phone number filled in by the user and saves it to the CRM, eliminating manual entry. You don't need to map all fields—just the core business fields.
- Save and Enable Click "Save" after completing all settings.
Next Step: Once your form is ready, you can refer to: How to Use Forms to Collect Contact Information?