Custom Contact Fields
With custom fields, you can flexibly expand contact information according to your business needs. Record personalized attributes such as "Interested Product," "Company Size," or "Membership Level" to build precise customer profiles.
How to Create a Custom Field?
-
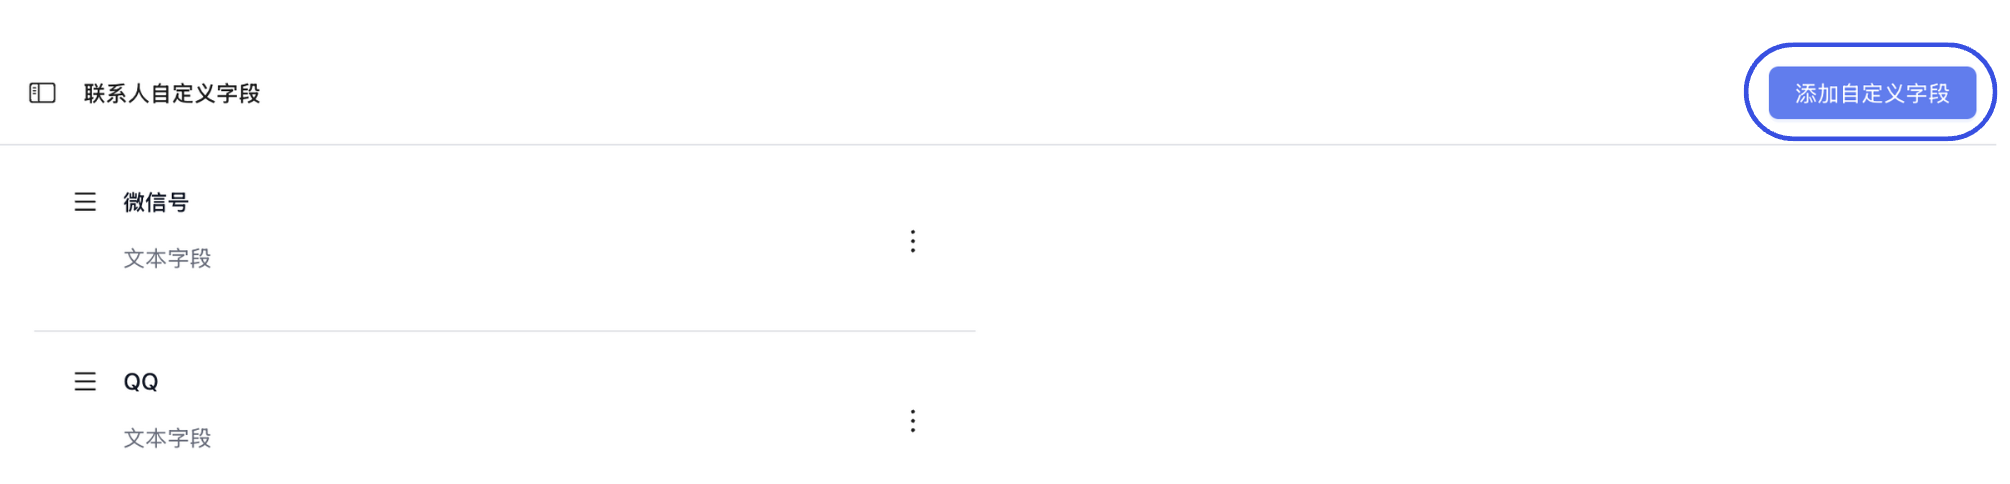
Enter the Settings Page Go to Settings > Contacts > Custom Fields.

-
Initiate Addition Click the "Add Custom Field" button in the top right corner.
-
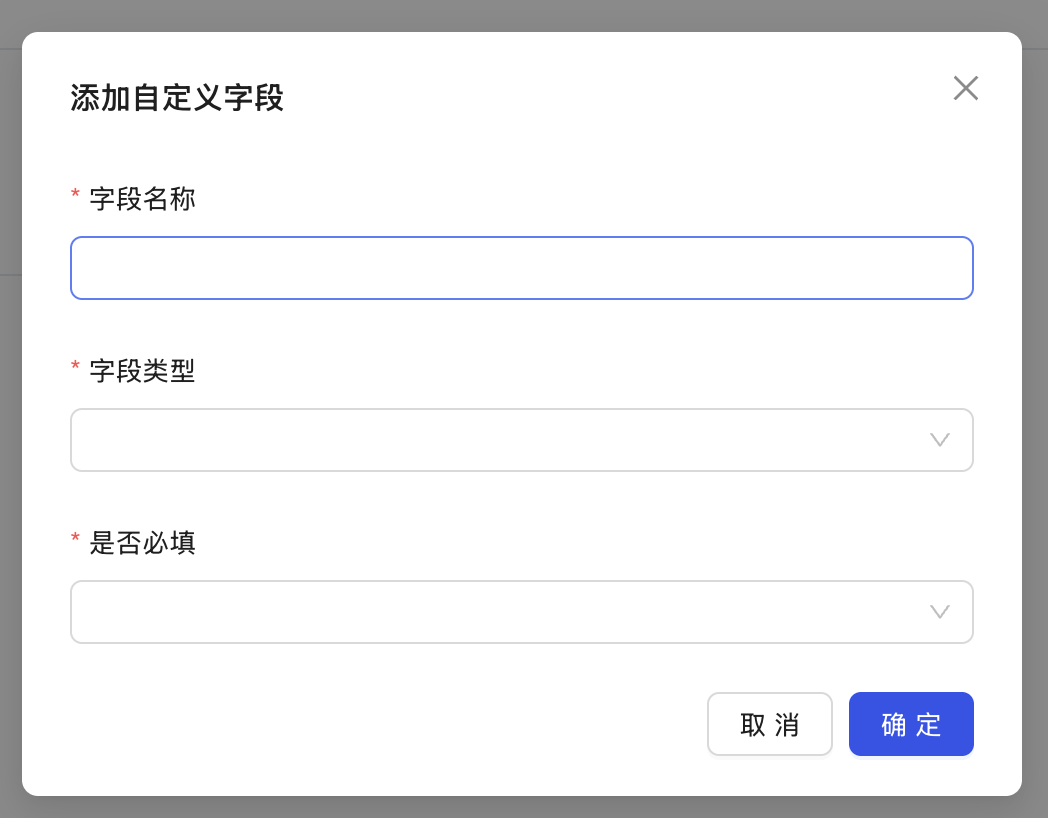
Configure Field Properties In the pop-up window, set the following information:
- Field Name: The display name of the attribute in the contact details page.
- Field Type: Choose based on content (e.g., Text, Single Select, Multi-select, Number, etc.).
- Required: When enabled, this field must be filled in when creating a contact.
-
Confirm and Save Click "Confirm" once filled out. The field will immediately be applied to the details panel of all contacts.
How to Manage Custom Fields?
You can adjust existing fields or maintain their status at any time.
-
Locate the Field Return to the Settings > Contacts > Custom Fields list.
-
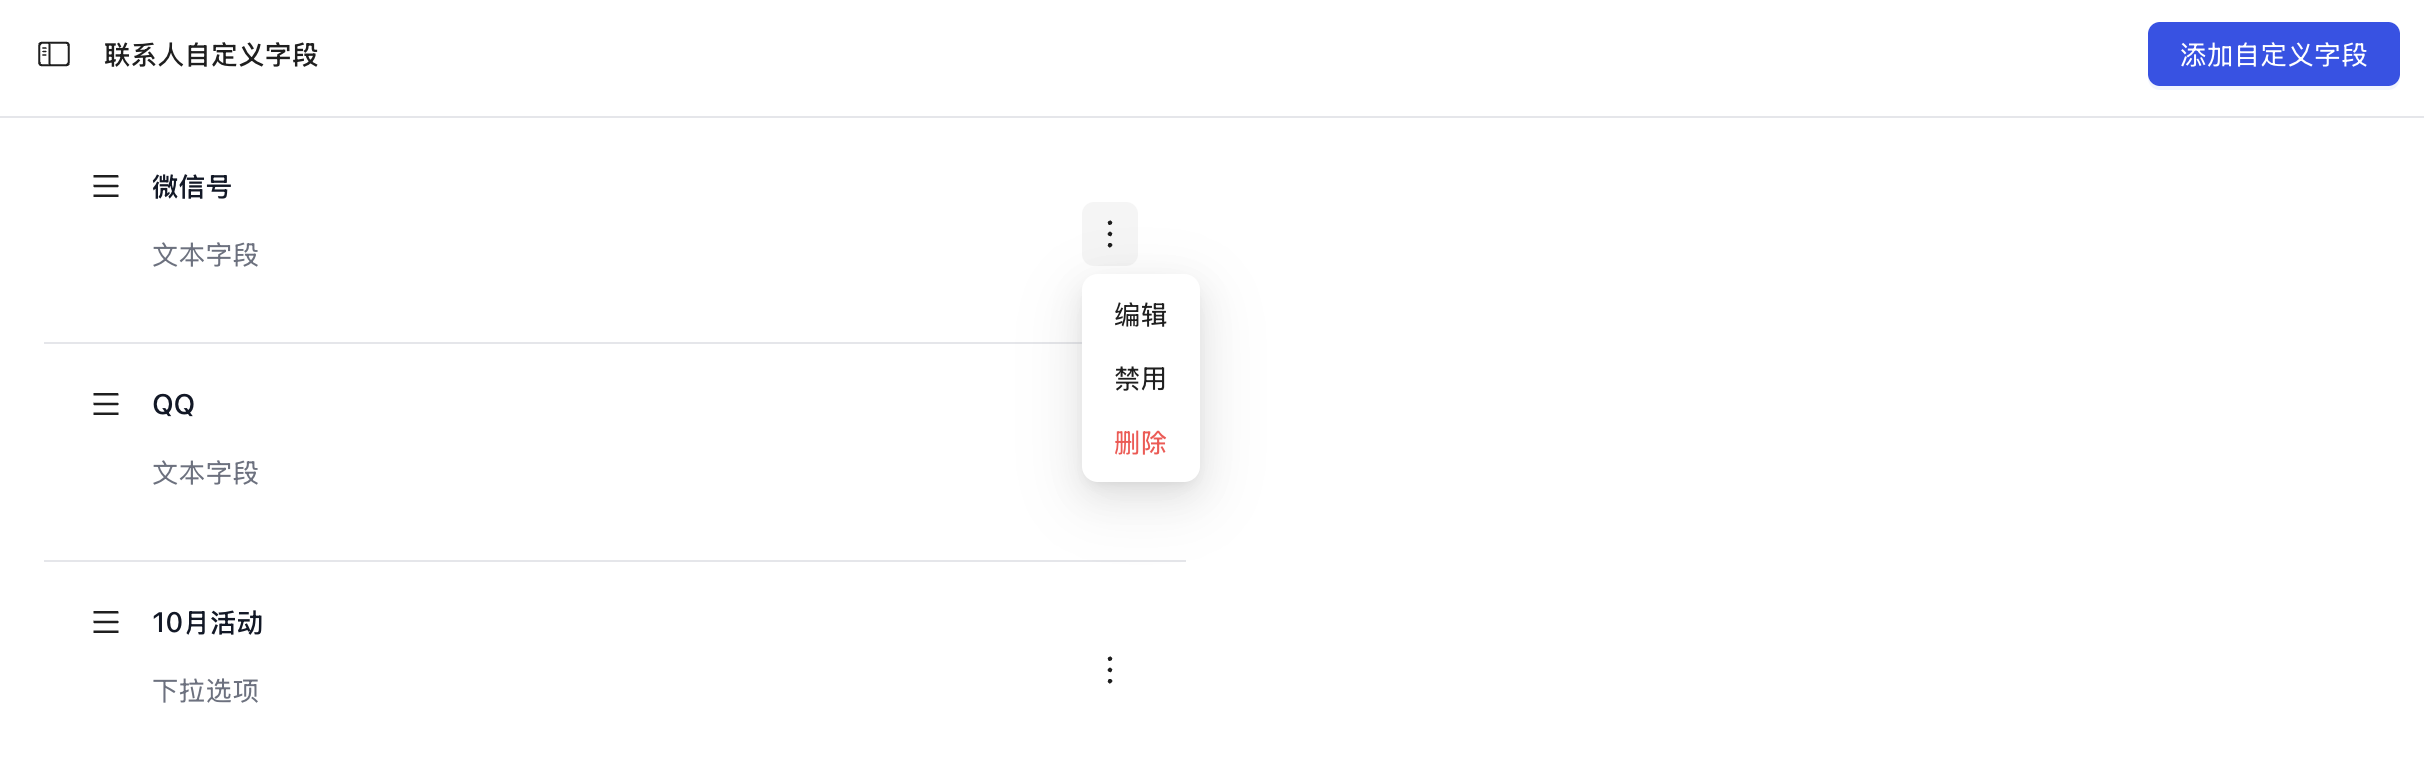
Execute Operations Click the action button to the right of the corresponding field to:
- Edit: Modify the field name or option content.
- Disable/Enable: Temporarily hide the field without deleting data. Disabled fields will not appear in the contact panel.
- Delete: Permanently remove the field.
Deleting a custom field will cause all existing data for that field across all contacts to be permanently cleared and cannot be recovered. If you just don't need to use it temporarily, we recommend selecting "Disable."
Common Application Scenarios
- Sales Funnel: Create a "Potential Value" field using the Number type to record estimated order amounts.
- Source Tracking: Create a "Lead Source" Single Select field to mark whether a customer came from a specific exhibition or event, either manually or via workflows.
- Automation Synergy: Custom fields can serve as triggers or conditions for Workflow Automation.
Next Steps: